<>
“`
Portrait photography captures the essence and personality of individuals, requiring a blend of technical know-how and creative flair. Whether you’re a seasoned photographer or a budding enthusiast, understanding the optimal camera settings can elevate your portrait photos from good to exceptional. This guide delves into the best equipment and settings to use, each playing a crucial role in achieving perfect portraits. From selecting the right lens to mastering manual mode, this article will equip you with the knowledge you need to capture compelling portraits. Let’s get started with the fundamentals of portrait photography settings and equipment.
Camera Settings and Equipment to Use for Portraits:
#1 – Which Lens to Use
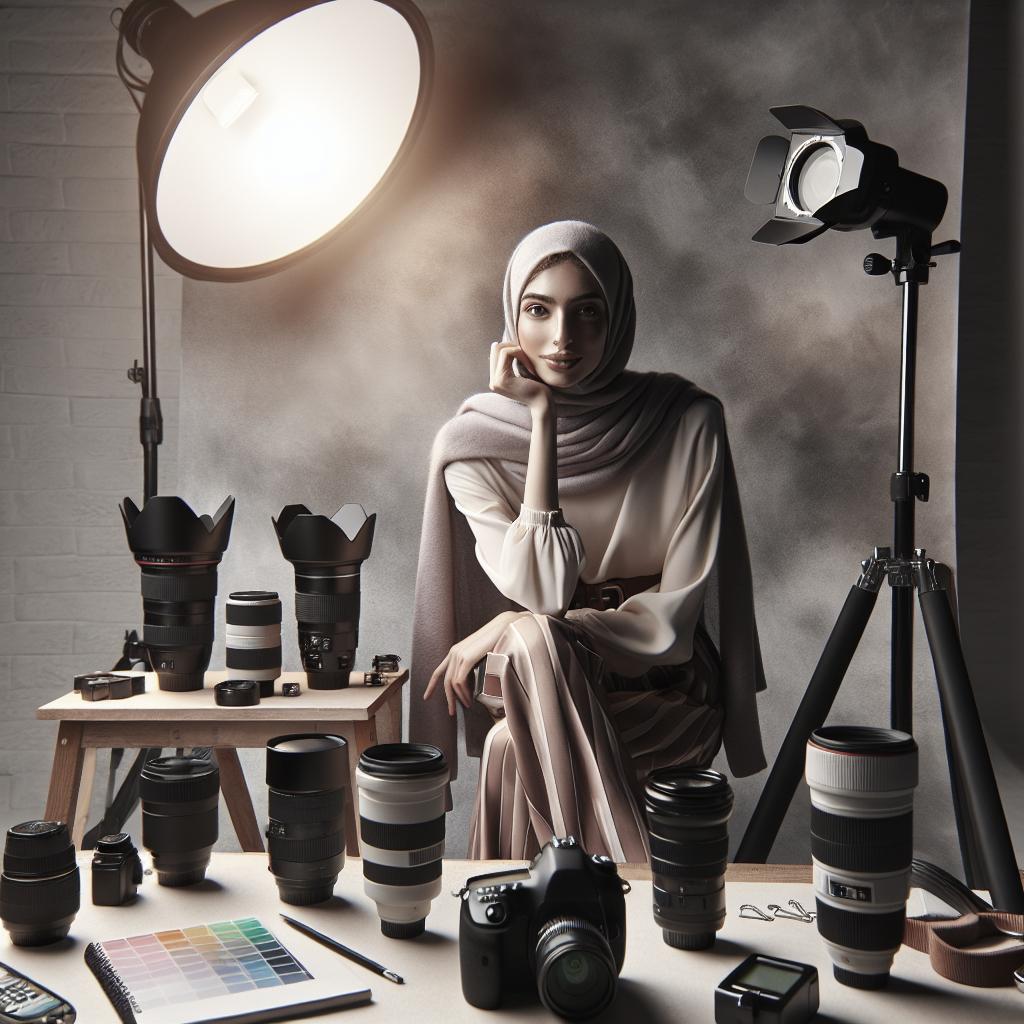
The choice of lens can dramatically impact the quality of your portrait photography. Prime lenses, particularly those with focal lengths between 50mm and 135mm, are often recommended. These lenses provide a natural perspective and pleasant background compression, making them ideal for portraits. The 85mm lens is particularly popular due to its flattering depth of field and ability to produce beautiful bokeh.
Aside from prime lenses, zoom lenses with a range of 24-70mm or 70-200mm can also be effective for portraiture. These lenses offer versatility by allowing you to adjust the focal length to frame your subject dynamically. Whichever lens you choose, ensure it has a wide aperture (f/2.8 or wider) to achieve a shallow depth of field and draw attention to your subject.
#2 – Use a Tripod
A tripod is an invaluable tool in portrait photography, especially in controlled environments such as studios or during outdoor shoots with low light conditions. Using a tripod ensures stability and eliminates camera shake, resulting in sharper images. It also allows you to focus more on framing and interacting with your subject since you don’t have to worry about holding the camera steady.
Furthermore, tripods are useful for maintaining consistency in repeated shots. When you need to take several photos in quick succession, having a stable setup ensures that minor variations in framing and composition are minimized. Invest in a sturdy tripod that can support the weight of your camera and lens combination for the best results.
#3 – Use a Remote Trigger
Using a remote trigger allows you to take photos without physically pressing the camera’s shutter button, reducing the risk of introducing motion blur due to movement. This is particularly beneficial for long exposure shots or when you want to capture candid moments without being behind the camera.
Remote triggers can be either wired or wireless, and many modern cameras offer remote control options through smartphone apps. By using a remote trigger, you can also engage more freely with your subject, giving you the flexibility to make small adjustments or stimulate natural reactions while ensuring you capture the perfect shot.
#4 – Shoot in Manual Mode
Shooting in Manual Mode grants you complete control over your camera’s settings, allowing you to adjust the exposure, aperture, and shutter speed to suit the specific lighting conditions and artistic vision you have for your portraits. While it may be tempting to rely on automatic modes, mastering manual adjustments will significantly improve your photography skills.
When starting with Manual Mode, pay close attention to your camera’s light meter. This tool helps you understand whether your current settings will result in an overexposed or underexposed image. Practice by experimenting with different settings, noting how changes to one parameter (like aperture) affect the others (like shutter speed and ISO).
#5 – ISO
ISO controls the camera sensor’s sensitivity to light. In portrait photography, it’s crucial to use the lowest possible ISO setting to minimize noise and grain in your images. Typically, an ISO range of 100-400 is ideal for well-lit environments, ensuring clean and sharp portraits.
In low light conditions, you may need to increase your ISO, but be wary of pushing it too high. Modern cameras have made significant strides in handling high ISO settings, but it’s still wise to test your camera’s limits and find a balance that maintains image quality. Utilize noise reduction tools in post-processing if necessary.
#6 – Focus Mode
Accurate focus is essential for sharp portraits, and the choice of focus mode can make a significant difference. Single-point autofocus is often the best choice for portraits, allowing you to precisely control which part of the image is in sharp focus. Position the autofocus point on the subject’s eyes to ensure they are tack sharp, as the eyes are a key focal point in portraits.
For moving subjects or dynamic portrait sessions, continuous autofocus (AI-Servo or AF-C) can be beneficial. This mode automatically adjusts the focus as your subject moves, ensuring they remain sharp even if they shift positions. Practice using different focus modes to understand how they impact your portrait photography.
#7 – Drive Mode
Drive Mode determines how your camera responds when you press the shutter button. For portrait photography, using the single-shot mode is usually sufficient, allowing you to take one photo at a time. This mode offers better control over each shot, giving you time to adjust settings and pose your subject between frames.
However, in dynamic or candid portrait sessions, the continuous or burst mode can be advantageous. This setting captures a series of images in quick succession, increasing your chances of catching the perfect expression or moment. Review the sequence of shots to select the best from the set.
#8 – Aperture
Aperture plays a critical role in portrait photography, influencing depth of field and the overall aesthetic of your images. A wide aperture (f/1.8 to f/2.8) creates a shallow depth of field, which blurs the background and draws more attention to your subject. This effect is desirable for portraits as it helps isolate the subject from distractions.
However, be mindful of using too wide an aperture, especially when focusing on more than one person, as this can result in parts of the image being out of focus. For group portraits or when you require more depth of field, a narrower aperture (f/4 to f/8) is recommended. Experiment with different aperture settings to find the perfect balance for your portraits.
#9 – Shutter Speed
Shutter speed determines how long your camera’s sensor is exposed to light, impacting both exposure and motion blur. For portraits, a faster shutter speed (1/100 to 1/200 seconds) is generally preferred, ensuring that any slight movements by your subject or camera do not result in a blurry image.
In low light conditions, you might need to use a slower shutter speed to achieve proper exposure. In such cases, using a tripod and remote trigger becomes even more essential to prevent motion blur. Practice adjusting your shutter speed in various lighting conditions to understand its effects on your portrait photography.
#10 – White Balance
White balance ensures that the colors in your image appear natural and true to life. Different lighting conditions (daylight, tungsten, fluorescent) affect the color temperature of your images. Setting the correct white balance eliminates color casts, ensuring that skin tones look accurate and pleasing.
Most cameras offer preset white balance settings such as daylight, cloudy, tungsten, and custom. While the auto white balance (AWB) setting generally does a good job, manually adjusting the white balance or using a gray card for custom settings can yield more precise results. Experiment with different settings to see what works best for your shooting environment.
Bonus Tip – Shoot RAW Format
Shooting in RAW format provides a significant advantage in post-processing. RAW files contain uncompressed data, retaining more detail and giving you greater flexibility when editing exposure, white balance, and other settings without degrading image quality.
While RAW files are larger and require more storage space, the benefits in terms of image quality and editing capabilities are well worth it. Use software like Adobe Lightroom or Capture One to process your RAW files and bring out the best in your portrait photographs.
Lessons Learned
| Setting | Recommendation |
|---|---|
| Lens | Prime lenses (50mm to 135mm), 85mm is ideal |
| Tripod | Sturdy tripod for stability and sharpness |
| Remote Trigger | Wired/wireless or smartphone app for reducing blur |
| Manual Mode | Full control over exposure, aperture, and shutter speed |
| ISO | Lowest possible (100-400) for minimal noise |
| Focus Mode | Single-point autofocus for precision |
| Drive Mode | Single-shot for control, continuous for dynamic sessions |
| Aperture | Wide (f/1.8 to f/2.8) for shallow depth of field, narrower (f/4 to f/8) for group portraits |
| Shutter Speed | Faster (1/100 to 1/200 seconds) to avoid blur |
| White Balance | Preset settings or custom adjustments for accurate colors |
| Shooting Format | RAW format for better post-processing |
“`