<>
— Event photography is an art that requires skillful manipulation of light to capture magical moments. Whether you are shooting a wedding, corporate event, or any other occasion, understanding various lighting setups can make or break your photographs. This blog post explores the essence of good light and offers practical modifications to natural light. We delve into the world of flashes, exploring what to look for and how to connect them to your camera. We also discuss various artificial lighting setups and the use of different lighting modifiers. A deep dive into diffusers, reflectors, gels, and snoots will equip you with the knowledge to create stunning photos. Read on to find out how to master event photography lighting setups. —
What Is Good Light in Photography?
Good light in photography goes beyond merely lighting up a scene. It’s about the quality, direction, and intensity of light. Soft lighting often creates flattering portraits with gentle shadows, whereas harsh light can lend itself to more dramatic and dynamic images. Understanding these basics allows photographers to make intuitive choices about lighting setups. Ambient light, the natural or existing light in a venue, can be your best ally or worst enemy. Effective use of good light involves finding, modifying, or even creating light that enhances the subject and overall scene. Identifying good light is the first step to mastering event photography.
Modifying Natural Light
1. Diffusers for Natural Light
Diffusers are crucial for softening natural light. By scattering harsh sunlight, a diffuser creates a softer lighting effect. This can be as simple as using a translucent cloth or a professional-grade diffuser. For event photography, portable options are recommended since they can be quickly set up and moved as needed. Diffusing natural light helps eliminate sharp shadows and highlights, which is especially useful in outdoor portraits. Using diffuser panels or softboxes attached to natural light as a source can make your images appear more professional, ensuring the subjects are bathed in a gentle, even light.
2. Reflectors
Reflectors are versatile tools that bounce light back onto your subject. They come in various colors, such as white, silver, and gold, each providing a different quality of light. White reflectors produce a soft, neutral light, while silver reflectors offer a brighter, more intense reflection. Gold adds a warm, golden hue to the subject. Strategically placing reflectors can fill in shadows and help achieve balanced lighting in challenging environments. A good event photographer always carries a selection of reflectors to adapt to different lighting conditions on the fly.
Introducing Flashes
1. What to Look for in a Flash
When choosing a flash for event photography, look for features like adjustable power settings, quick recharge times, and compatibility with your camera. High Guide Number (GN) flash units offer more power and coverage, while HSS (High-Speed Sync) allows you to use faster shutter speeds with flash. Additionally, TTL (Through-The-Lens) metering is a must-have feature, as it automatically adjusts the flash’s intensity based on the camera’s exposure settings, ensuring well-lit photos in varying conditions.
2. Connecting the Flash to the Camera
There are various ways to connect a flash to your camera. The most common method is using a hot shoe mount, which directly attaches the flash to the camera. For more versatile lighting setups, consider using wireless triggers or sync cords, allowing you to position the flash away from the camera. By decoupling the flash from the camera, you can achieve diverse and creative lighting effects, such as side lighting or backlighting, which add depth and dimension to your photos.
3. Dual Flash
Using dual flashes can help cover a larger area and eliminate unwanted shadows. One flash can act as the primary light source, while the second can serve as a fill light, ensuring an evenly lit scene. Utilizing dual flashes allows for more balanced and nuanced lighting setups. Properly synchronizing the flashes ensures that neither overpowers the other, producing well-lit and natural-looking images.
4. Constant Lights?
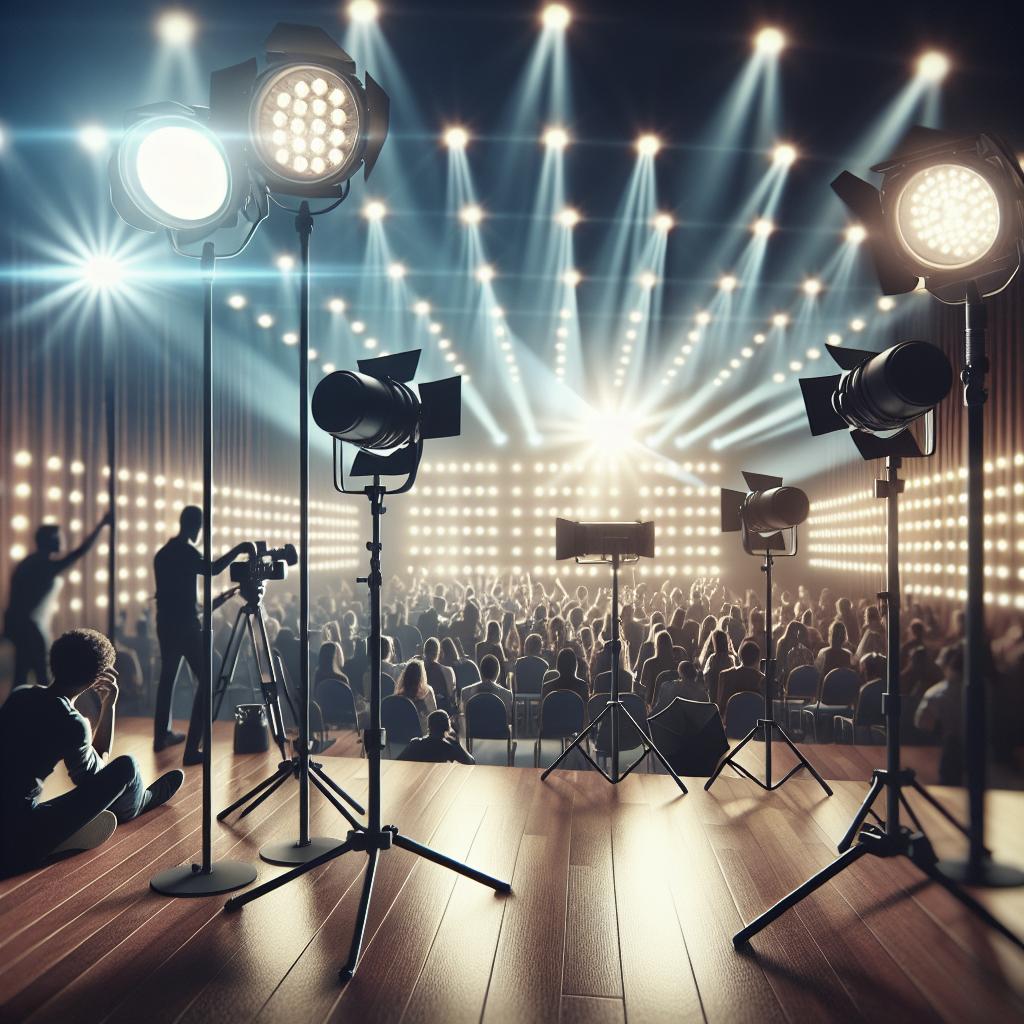
While flashes are ideal for freezing moments, constant lights can be useful for video work or where you need consistent illumination. LED panels have become popular due to their energy efficiency and adjustable brightness, making them a viable option for event photography. However, keep in mind that continuous lights can be less powerful than flashes and may struggle to provide sufficient lighting in large venues or situations requiring higher shutter speeds.
Example Artificial Lighting Setups
1. Firing the Flash Through a Diffuser
One effective technique is to fire the flash through a diffuser, which softens the light and reduces harsh shadows. Tools like softboxes or umbrella diffusers can be mounted on the flash to achieve this effect. This setup is ideal for close-up portraits or small-group photos, ensuring that the subjects are illuminated with a soft, even light, enhancing their appearance and minimizing imperfections.
2. Firing the Flash at an Umbrella / Reflector
Another setup involves firing the flash at an umbrella or reflector positioned to bounce light onto the subject. This technique allows for softer, indirect lighting, which can create a more natural look. Reflective umbrellas and silver reflectors work well for this purpose, providing bright, diffused light that evenly illuminates the subject, reducing harsh shadows and hotspots.
3. Combining Diffusers and Reflectors
For complex lighting conditions, combining diffusers and reflectors gives you the flexibility to create a balanced lighting setup. You can diffuse the main light source while strategically placing reflectors to fill in shadows. This method ensures that all aspects of your subject are well-lit and look natural, making it an excellent choice for comprehensive event coverage.
Other Lighting Modifiers
1. Gels
Gels are colored sheets that can be placed over lights or flashes to modify the color temperature. They are useful for correcting white balance or adding creative color effects to your photos. Color gels can be especially handy for events with themed lighting, allowing you to match or complement the existing light conditions and create a cohesive visual experience.
2. Snoot
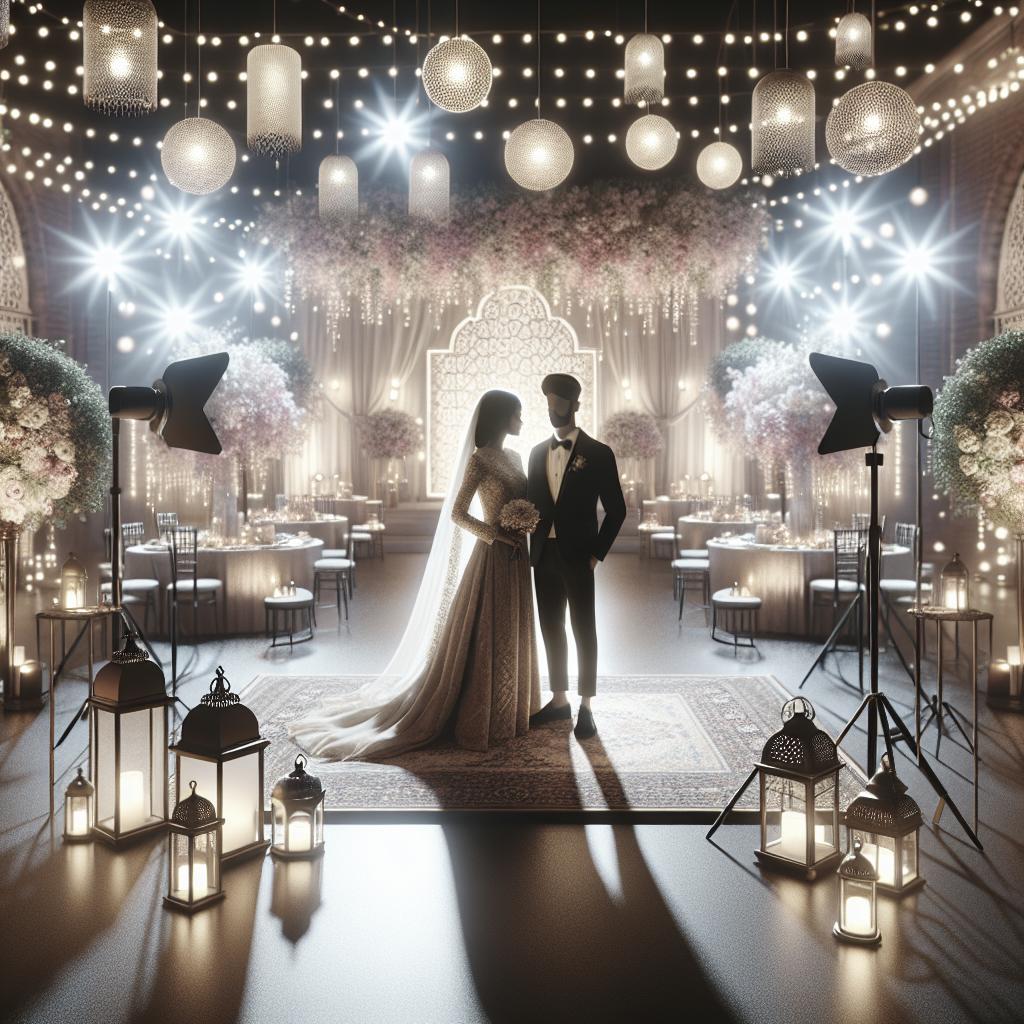
A snoot is a tubular device that narrows the light beam, directing it precisely where you want it. This is ideal for highlighting specific subjects or details in a scene, such as the bride’s bouquet or an award on stage. Using a snoot allows for dramatic, spotlight effects, giving you more control over your lighting and adding a professional touch to your photography.
3. Other Lighting Modifiers
Additional modifiers like grids, barn doors, and diffusing gels offer further control over your lighting setup. Grids focus light into tighter beams, while barn doors allow for precise light shaping. Diffusing gels soften light without changing its color. Having a range of lighting modifiers at your disposal ensures you are prepared for any lighting challenge, making your event photography versatile and adaptable.
Future Prospects
Understanding and mastering various lighting setups is essential for successful event photography. From modifying natural light with diffusers and reflectors to integrating sophisticated flash systems and other lighting modifiers, each tool and technique has its place. Future advances in lighting technology, such as smarter flashes with AI capabilities, will further enhance photographers’ ability to control and manipulate light. Keeping abreast of these innovations is key to staying ahead in the ever-evolving field of event photography. —
| Aspect | Details |
|---|---|
| Good Light in Photography | Quality, direction, intensity, and the role of ambient light |
| Modifying Natural Light | Using diffusers and reflectors to soften and direct natural light |
| Introducing Flashes | Choosing the right flash, connecting methods, dual flash setups, and constant lights |
| Artificial Lighting Setups | Firing flash through diffusers, at umbrellas/reflectors, and combining tools |
| Other Lighting Modifiers | Gels, snoots, and additional modifiers like grids and barn doors |
Related Articles
- Mastering Shutter Speed for Event Photography
- Best Cameras for Event Photography in 2023
- Top Tips for Posing Subjects at Events
—


